Click here for a printable version of this procedure.
Items Needed
phx42 v2 Probe Repair Kit (LDAR# 4315)
| Picture ID | Part Name | LDAR Part # |
|---|---|---|
| A | Male Luer Lock | 42084 |
| C | Viton Tubing (6ft) | 42904 |
| D | Protective Sleeve (65″) | 4307 |
Probe Hardware (from Previous Probe)
| Picture ID | Part Name | LDAR Part # |
|---|---|---|
| B | Handle | 42081 |
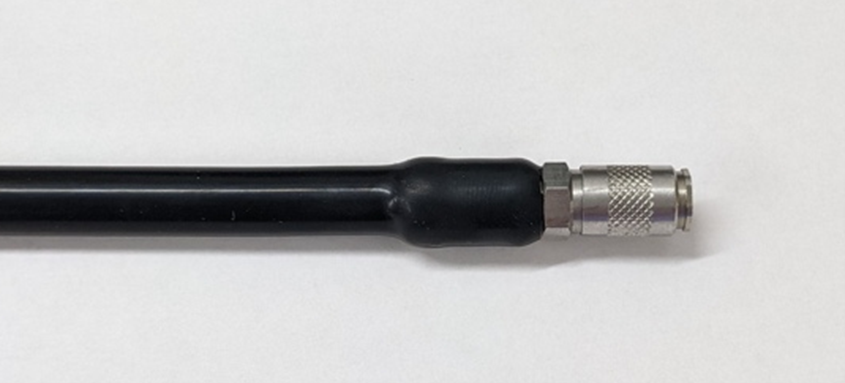
| E | Quick Disconnect (with 1/16″ barb) | 4235 |

Tools
| Picture ID | Part Name | LDAR Part # |
|---|---|---|
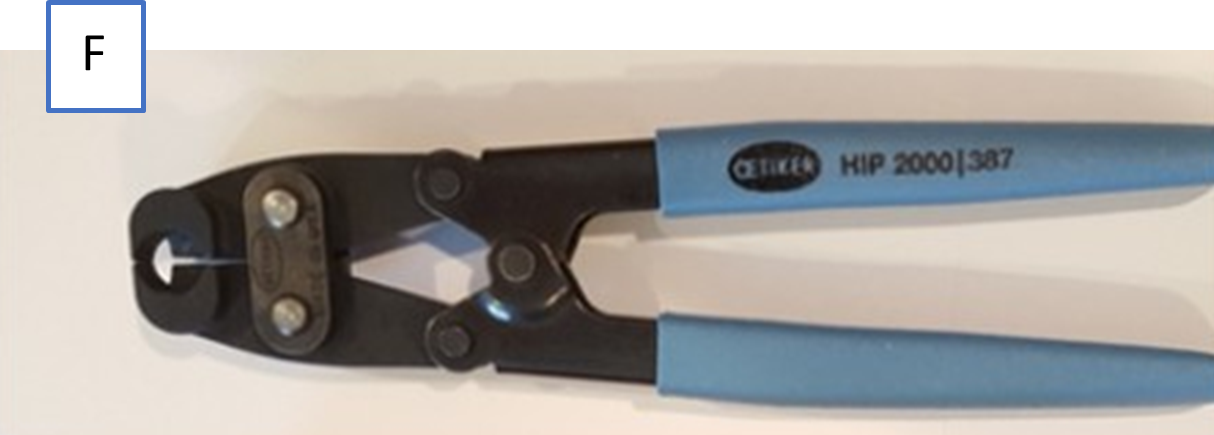
| F | Pinch Clamp Pliers | 4021 |
| Additional Recommended Supplies |
|---|
| Snoop Liquid Leak Detector or other Non-VOC material for lubrication of tubing. |
Procedure
-
Lubricate the barb on the male luer lock with Snoop or equivalent.
Tech Tip: Do not use a lubricant with any VOC content. If you are not sure, test a sample of what you want to use with a phx42. That is what it’s for!
-
Push Viton tubing onto the barb stopping after the Viton tubing has moved over the first ridge.
-
Feed the other end of the tubing all the way through the center of the handle until you can thread the male luer lock into the handle.
-
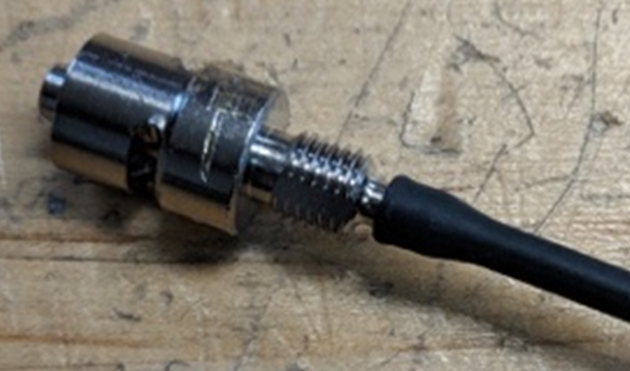
Tighten male luer lock into the handle first with your fingers and then gently tighten with the pinch clamp pliers by gripping the fitting in the slot with the flats of the pliers. Do not overtighten, doing so can mar or damage the fitting.

-
Feed the Viton tubing through the protective sleeve.
-
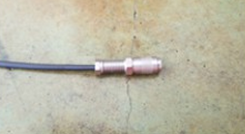
Slide the protective sleeve over the barb at the base of the probe handle, far enough to cover the barb.
-
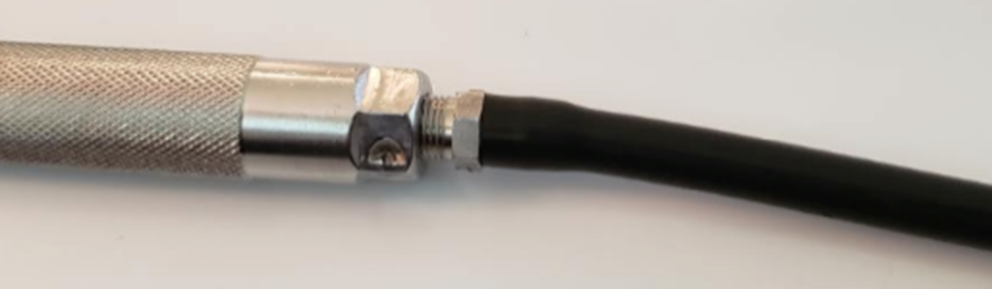
Slide the tubing until it is flush with the base of the quick disconnect.
-
Slide the protective sleeve over the threaded portion of the quick disconnect. Do not attempt to “thread” the protective sleeve onto the quick disconnect. This will twist up the Viton tubing running through the protective sleeve.
-
To ensure the probe assembly is successful, follow the Probe Integrity Test procedure.