Click here for a printable version of this procedure.
Items Needed
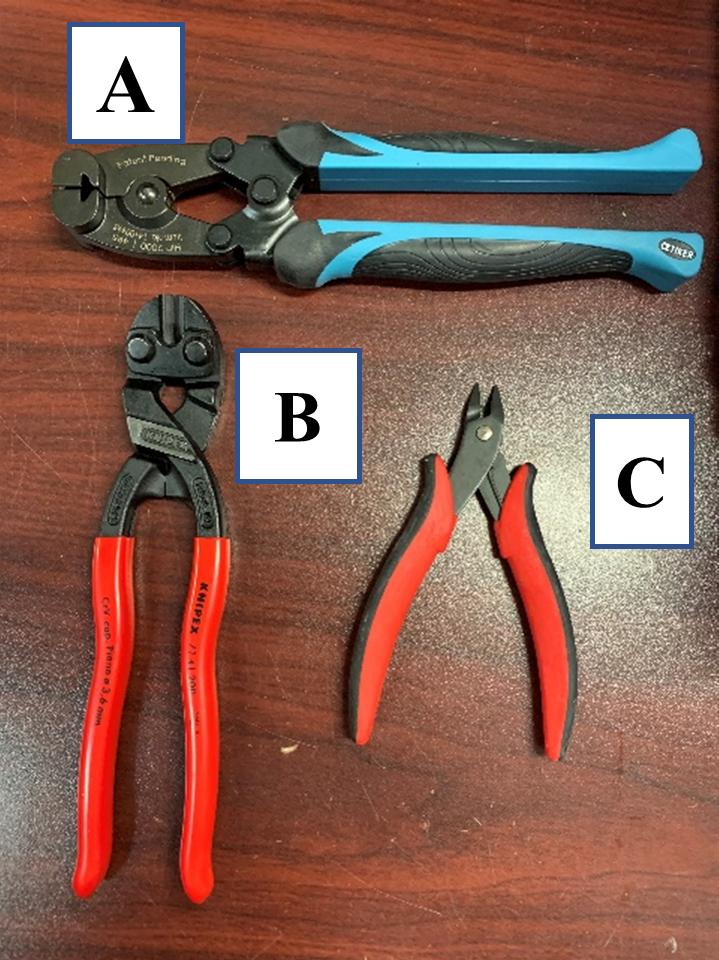
| Picture ID | Part Name | LDAR Part # |
|---|---|---|
| A | Pinch Clamp Pliers | 4021 |
| B | Angled High Leverage Cutters | 4234 |
| C | Angled Wire Cutters | 1741 |
Disassembly Procedure
Probe Clamp Removal
-
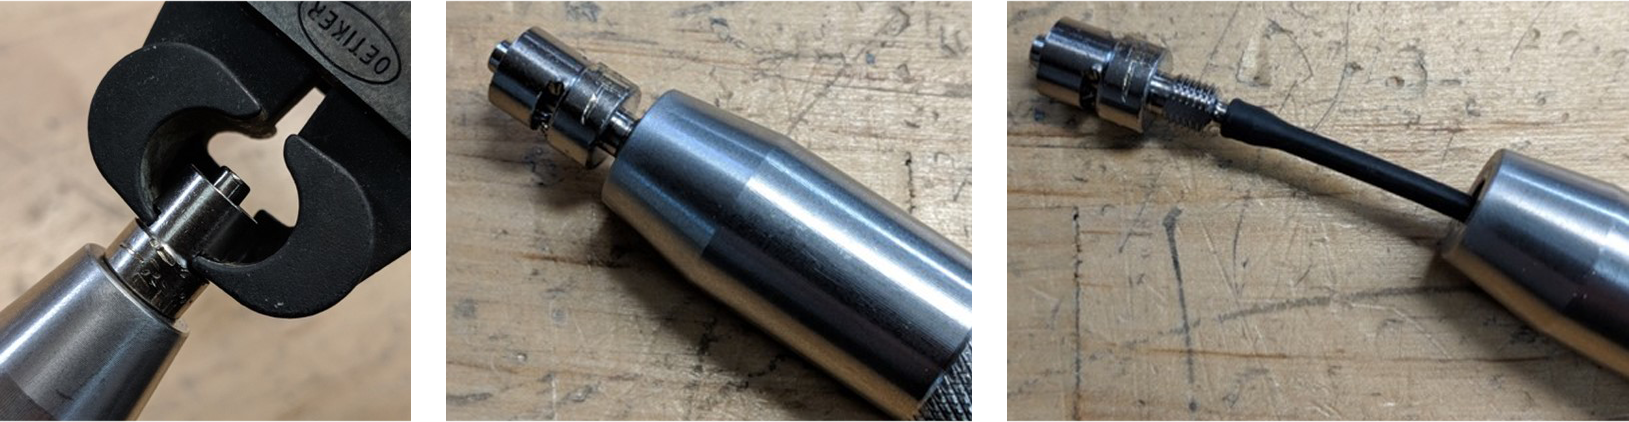
Grasp the pinch clamp on one “ear” with the pinch clamp pliers.
Tech Tip: Use the front edge of the pinch clamp pliers for all steps in this procedure. We will never use the side face.

-
Grasp the other “ear” of the pinch clamp with the angled high leverage cutters.
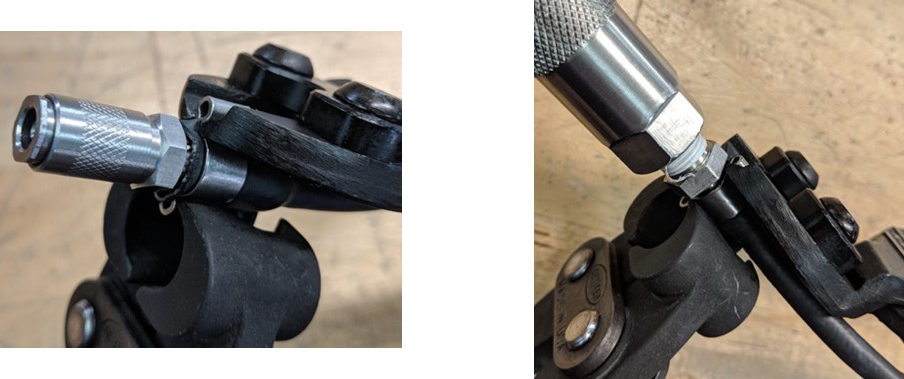
-
Squeeze the angled high leverage cutters on the “ear” to get it ready for cutting.
-
Before squeezing with the angled high leverage cutters.
-
After squeezing with the angled high leverage cutters.
-
-
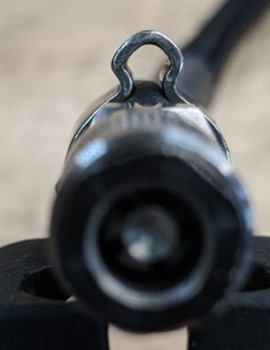
Using the very end of the angled high leverage cutters, make a series of tiny cuts along the length of the ear until it is completely cut off.

-
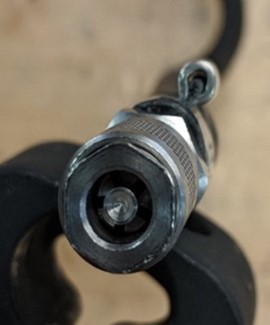
Pull the cut clamp off with the pinch clamp pliers by pulling on the remaining “ear” of the clamp that you were already gripping.

Tech Tip: Be aware of the barb extending into the tubing. You do not want to pinch or bend the barb.
-
Repeat steps 1-5 for the pinch clamp on the handle side of the probe assembly.
-
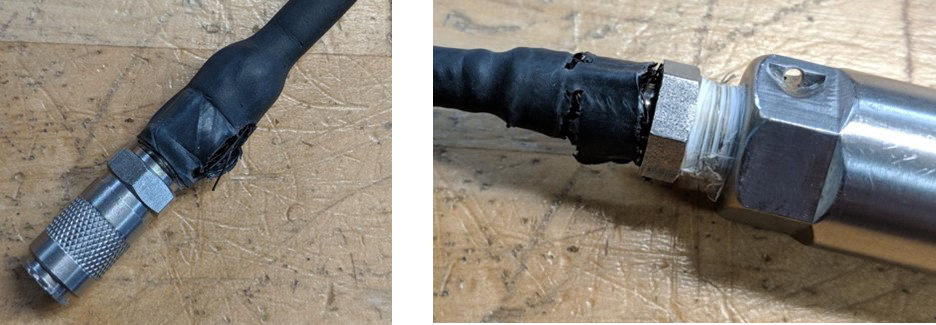
Once both pinch clamps are removed, pull off the outer large heat shrink (LDAR# 42094) and sheath (LDAR# 42082) using the angled wire cutters if necessary.
-
Pull the tubing (LDAR# 42083/42904) off the barb on the quick disconnect end.
-
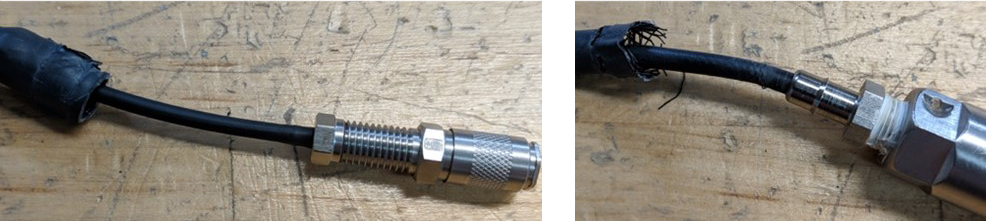
On the base of the probe, pull the tubing out and cut it off above the heat shrink.
-
Unthread the luer lock fitting at the tip of the probe. Try first with only your fingers. If this does not work, gently grip the fitting in the notch with the pinch clamp pliers and loosen. Be careful to avoid the central stem of the fitting since this is the sealing surface.
-
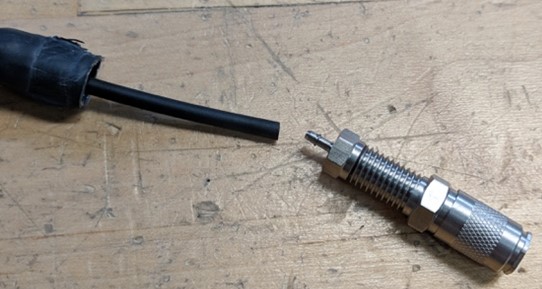
Pull the tubing off the barb of the fitting.
-
Discard the used tubing, sheath, heat shrink, pinch clamps.
-
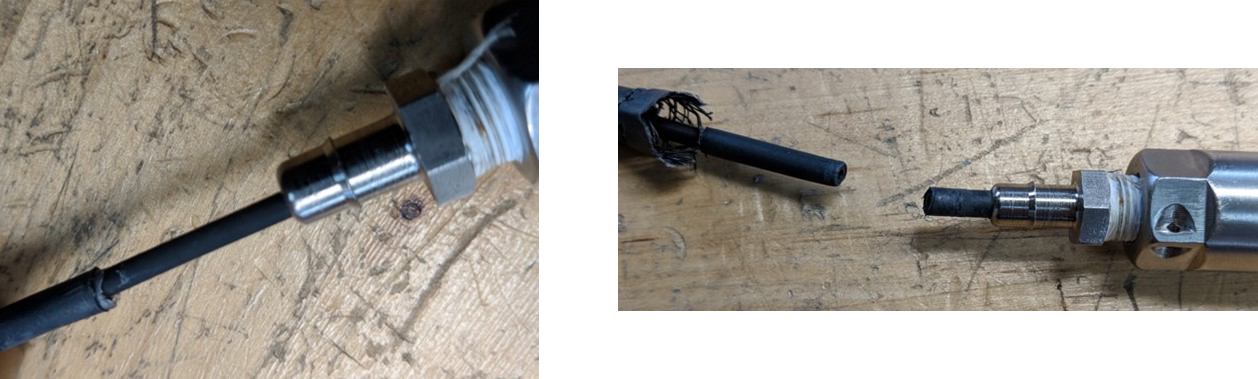
After completing this process, you will find a white, Teflon collar under the Viton tubing on the barb on the quick disconnect (with 1/16” barb). If you are re-assembling a v1 Probe you will need that collar. If you are re-assembling a v2 Probe, you can discard the collar.
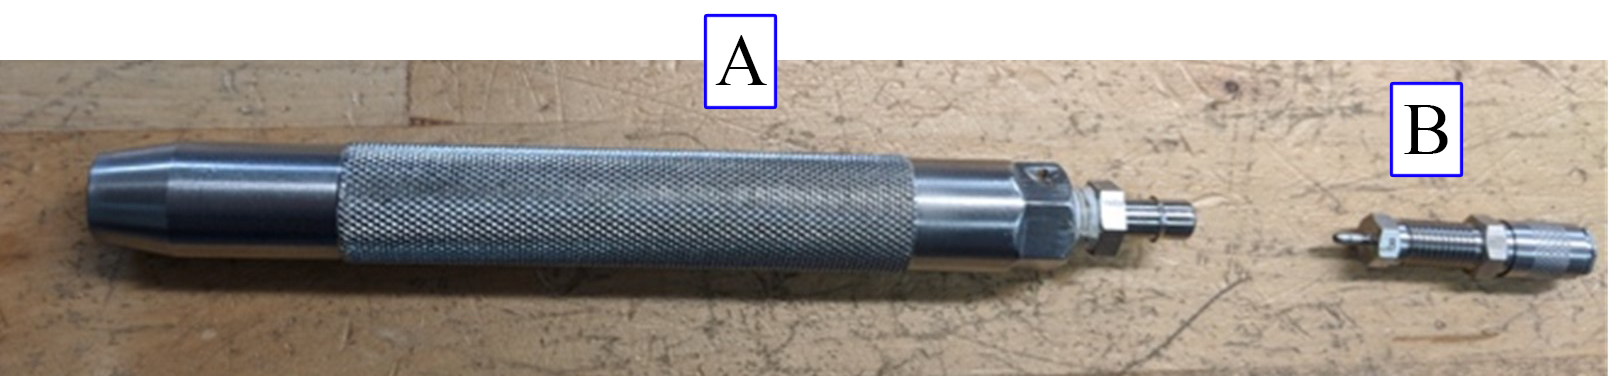
The pieces below should be left with the hardware making up the probe assembly.
| Picture ID | Part Name | LDAR Part # |
|---|---|---|
| A | Handle | 42081 |
| B | Quick Disconnect (with 1/16″ barb) | 4235 |