| 1. |
Start typing! |
Whenever you are looking for items in a Picklist or dropdown, you will see an empty box next to the dropdown arrow. The box may have the words “Select Criteria” or “Search” present, but in every case, you can begin typing the entry you are looking for and Chateau will take you to it. Search fields in the component picklists and dropdowns match any value containing the typed text, not just values starting with it. No need to scroll down the list, if you know what you are looking for. Just start typing! |
| 2. |
Expand Menu, Column, and Filter options |
Click on either the Menu, Columns, or Filter buttons along the right side of the screen (text displayed laterally) to expand each the respective button’s options panel. |
| 3. |
Refresh |
There is a Refresh button on every grid. It is either visible or contained in the Menu view. Always do this when you don’t see what’s expected. |
| 4. |
Collapse Menu, Column, and Filter options |
With the options panel open, click on either the Menu, Columns, or Filter buttons again to collapse the respective button’s options panel. |
| 5. |
Sort a grid by a specific column |
Click in the top box of any column near the label to change the sorting order of the grid. Click multiple times until you get the sort order you want. To sort by multiple columns, hold Shift as you click the next column header you wish to sort by. You can sort by as many columns as you wish. A number will appear next to the column header to let you know the column priority in the sort. |
| 6. |
Using the Columnfilter |
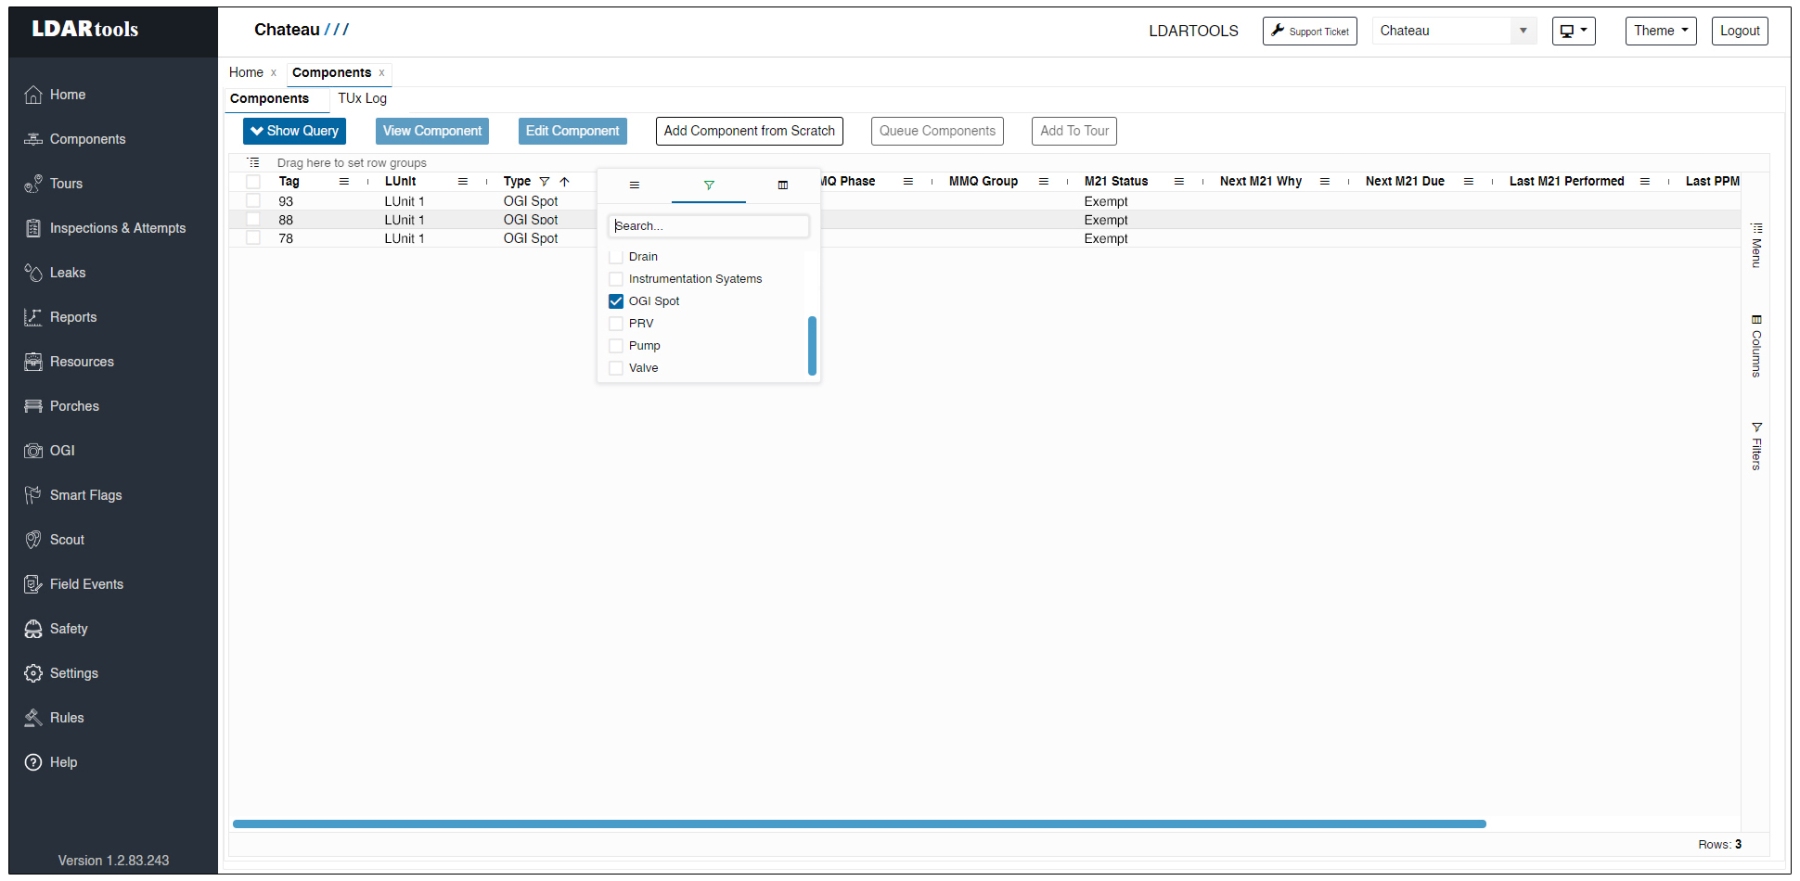
1. Select hamburger menu near Tag label in Tag column. 2. Select the Filter icon. 3. Type in the Tag number in the search box. 4. Select or unselect any displayed Tags. 5. Press Enter. 6. Same applies to other columns. |
| 7. |
Redisplay entire grid by undoing a filter |
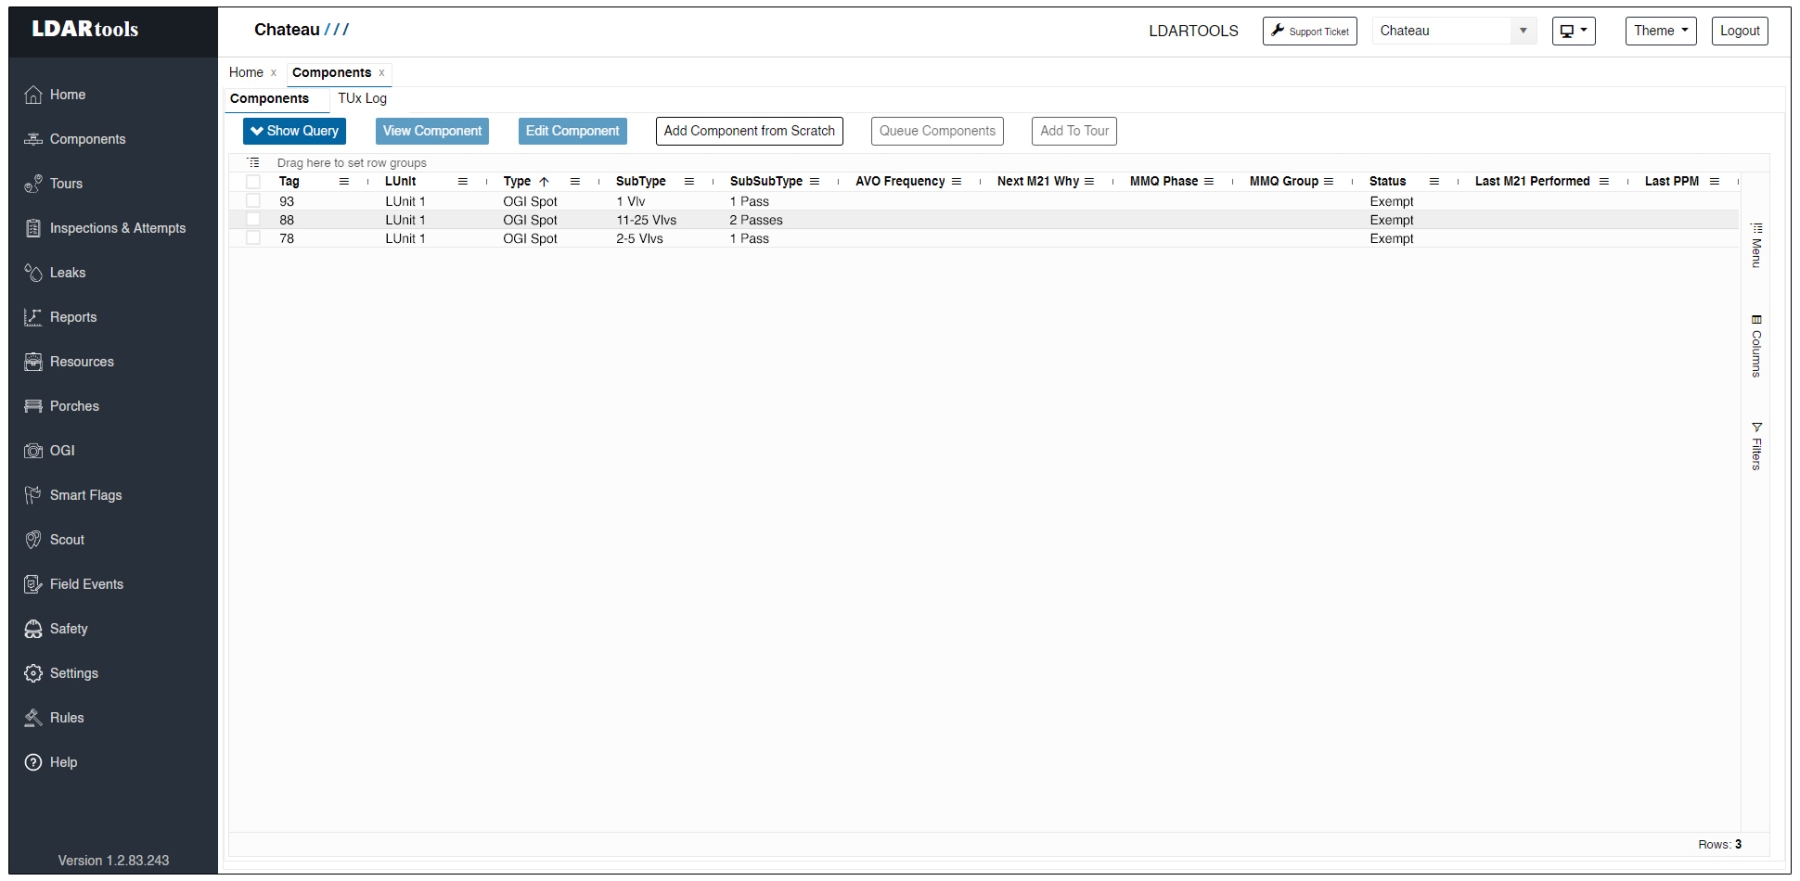
1. Select the hamburger menu. 2. Clear the text from the search box. 3. Click Select All. 4. Click outside the Filter box to make it disappear. |
| 8. |
Filter a grid |
1. Select the Filter label. 2. Select the field to filter by. 3. Select the value or values to filter by. 4. Select additional values and filter. 5. Select the Filter label again to hide the box.
|
| 9. |
Undo any filters |
1. Select the Filter label. 2. Select the desired fields. 3. Mark Select All for each field with a filter applied. |
| 10. |
Select all the tags in a grid |
Select the box in the first column in the top row. |
| 11. |
Pin a column (so it does not scroll off the screen) |
1. Select the hamburger menu next to the label at the top of the column. 2. Select the inserted hamburger menu. 3. Pin left or pin right. |
| 12. |
Autosize column(s) |
1. Select the hamburger menu next to the label at the top of the column. 2. Choose Autosize This Column to fit the one column, or Autosize All Columns to fit them all. Those are the only two choices — there is no "selected columns" option. |
| 13. |
Select a group of consecutive and non-consecutive tags on a grid |
1. Select the first Tag. 2. Press and hold Shift (hold Ctrl for non-consecutive Tags). 3. Select the last Tag. 4. You can do this as many times as needed in the same grid. |
| 14. |
Group and count any column |
Click and grab the top of the column, drag it up and to the left, and then drop it over the phrase “Drag here to set …” You can do this multiple times to slice the data into smaller groups. |
| 15. |
Expand any of the displayed groups |
Select the > sign next to the Group name. |
| 16. |
Clear the groups |
Select circled X in the “Drag here…” spot. |
| 17. |
Export to Excel or CSV |
1. Prepare the grid. 2. This will export the entire grid, not selected items (if any). 3. Select the Menu label. 4. Select Export to Excel. Note: on select grids only (for example the Tour Details grid), a separate Export All Columns option is also available, which includes a few extra columns not shown on screen. |
| 18. |
Find the Grid Counter
|
In the lower-right corner. |
| 19. |
If you don’t see what’s expected… |
1. Check your Query. 2. Undo any Groups you have built. 3. Undo the filters. 4. Hit Refresh. 5. Restart Chateau. Repeat these steps and if you still don’t see what’s expected, please submit a support ticket. |
| 29. |
Build and save a Query and grid layout |
Open the Component grid. Click Show Query if you don’t see Add Fields to Query or Saved Queries. Remove any existing Query, if any, by X’ing out each displayed field. Add a field to the Query by clicking Select Criteria and selecting the field. In the second box, select the operator. Which operators you get depends on the kind of property you picked. Text and single-select list properties (for example Location Description, Physical State, Type) offer four: Equals — matches the exact searched phrase; Not Equals — excludes the exact searched phrase; Like — matches results containing the searched phrase; Not Like — excludes results containing the searched phrase. Number and date properties (for example Route Sequence, Latitude, Date Added) offer six instead: Equals, Not Equals, Greater Than, Greater Than Or Equals, Less Than, Less Than Or Equals — Like and Not Like are not offered, because a comparison makes more sense than a text match. You can add the same number or date property twice to build a range: Date Added Greater Than 5/31/2022 plus Date Added Less Than Or Equals 12/31/2022 returns everything in between. Tag is the most flexible property, with all nine: the four text operators, the four comparisons, and Between, which takes a low and a high tag number. Multi-select list properties — where one component can carry several values at once, such as Safety Equipment — these are defined per database, so your database may have none — replace Equals and Not Equals with Includes, Includes All and Excludes, keeping Like and Not Like. When a multi-select condition holds more than one value, look at the small word Chateau prints between the values: it tells you how they are joined. Includes joins with or — the component matches if it carries any one of them. Includes All, Excludes and Not Like join with and — the component must carry every value listed, or none of them. That word is only corrected for multi-select properties; on every other property type multiple values always read, and behave as, or. Yes/No properties (for example Sealless) have no operator box at all; you simply choose the Yes or No radio button. In the third box, select as many of the values you want or select all values. The third box arrives pre-filled for some types — a number box starts at 0 and a date box starts at today — so set it deliberately rather than leaving the default in place. If you want to add another field, select it and repeat the process. Until you have completely defined the Query, you can use as many fields as you like — with one exception: a Yes/No property, and a collection property such as Regulations or Tours, can each appear only once in a Query. Once you add one, its name disappears from the Select Criteria list, which is how you can tell. (That is why the range trick above works for numbers and dates but not for a Yes/No property — and you would not need it, since Yes and No already cover every value.) Decide if you want Deactivated items to be included. Either check that box, or leave it blank. Select Search. To save the Query, once the grid is loaded… Select Show Query. Select the red heart icon. Name the Query. Select Just Me or Everyone. Save. |
| 30. |
Design and save the grid layout |
1. Select the vertical columns label to the far right. 2. Make the column list disappear by selecting the Columns label, again. (This is just for practice!) 3. Bring the Column list back by selecting the Column label. 4. Select the columns you want on this grid. 5. Hide the Query to display the top row of the grid. 6. Grab each column at the top and drag to whatever order you want them in. 7. Adjust the width of any columns by selecting the hamburger menu at the top of any column and selecting the Auto-size This Column or Auto-size All Columns options. 8. Sort by any column by clicking in the top box multiple time to sort by alpha or numeric order. 9. Select the Menu label. 10. Save the grid layout. 11. Name the grid layout and select Just Me or Everyone. 12. Save. |
| 31. |
Delete a Query |
1. From the Component grid. 2. Show Query. 3. In the Save Query box, select the Query to be deleted. 4. With the selected Query displayed, select the trash can icon. 5. Delete. |
| 32. |
Delete a grid layout |
1. From the Component grid. 2. Select Menu label. 3. Select Manage Grid Layouts. 4. Select the grid layout to be deleted. 5. Delete. 6. Confirm deletion. |
| 33. |
Edit a Query or grid layout |
There is no Edit button for either one, but a Query can be replaced in place: save a new Query using the exact same name and it overwrites the stored one. There is no warning and no "already exists" prompt — the toast reads Query Saved exactly as it does for a brand-new Query. Two things to know about that: (1) the name appears twice in the Saved Queries list until you reload Chateau, which is only a display quirk — one copy is stored, and it is the newer one; (2) if the Query was saved for Everyone, anyone re-using that name replaces everybody's copy, again with no warning. Note the asymmetry: deleting a Query asks you to confirm ("This cannot be undone"), while overwriting one does not ask at all. So pick distinct names for shared Queries, and re-save under the same name only when you actually mean to replace it. Grid layouts genuinely cannot be edited — delete the existing one and create a new one. |
| 34. |
Filtering Date |
While the Date Filtering function works as it should in the query, filtering dates can be tricky in the grid. For now, we suggest only using the In range option to filter dates in the grids, specifying the beginning and end date. Note: Greater/Less than and Equal to options may not return the desired results and are currently being improved. |

Comments
0 comments
Please sign in to leave a comment.