Note: For batch-importing components, see the Component Import Template. Essential properties are highlighted in yellow on this form.
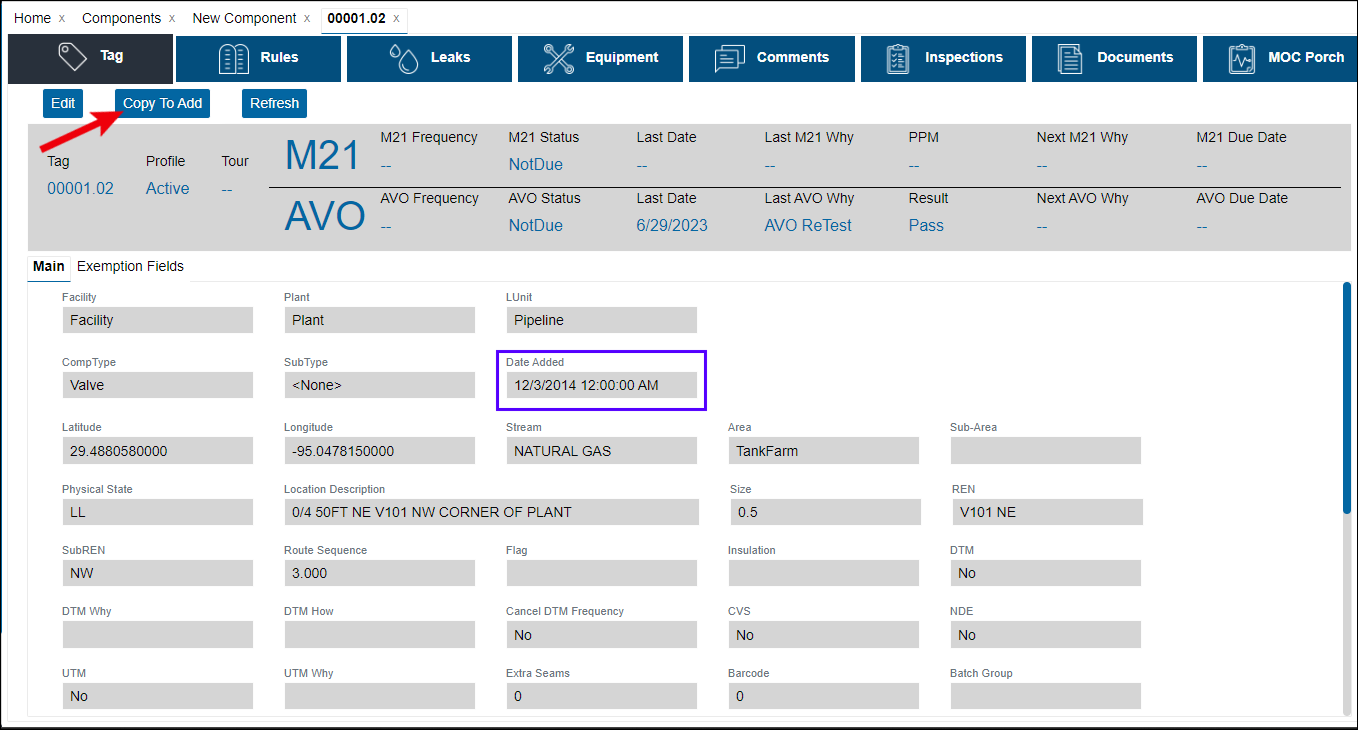
You can either use Add Component from Scratch, or if there are similar existing components, go to the tag view of this component and use Copy to Add.
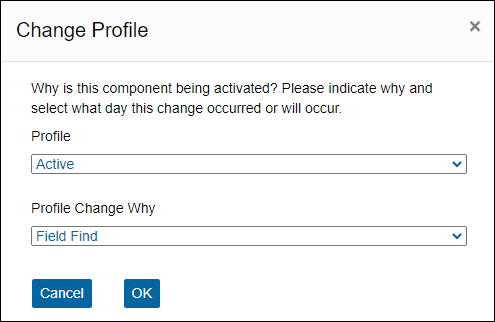
First, you will need to fill out the component profile (Active, TUx, etc.), and Profile Change Why.
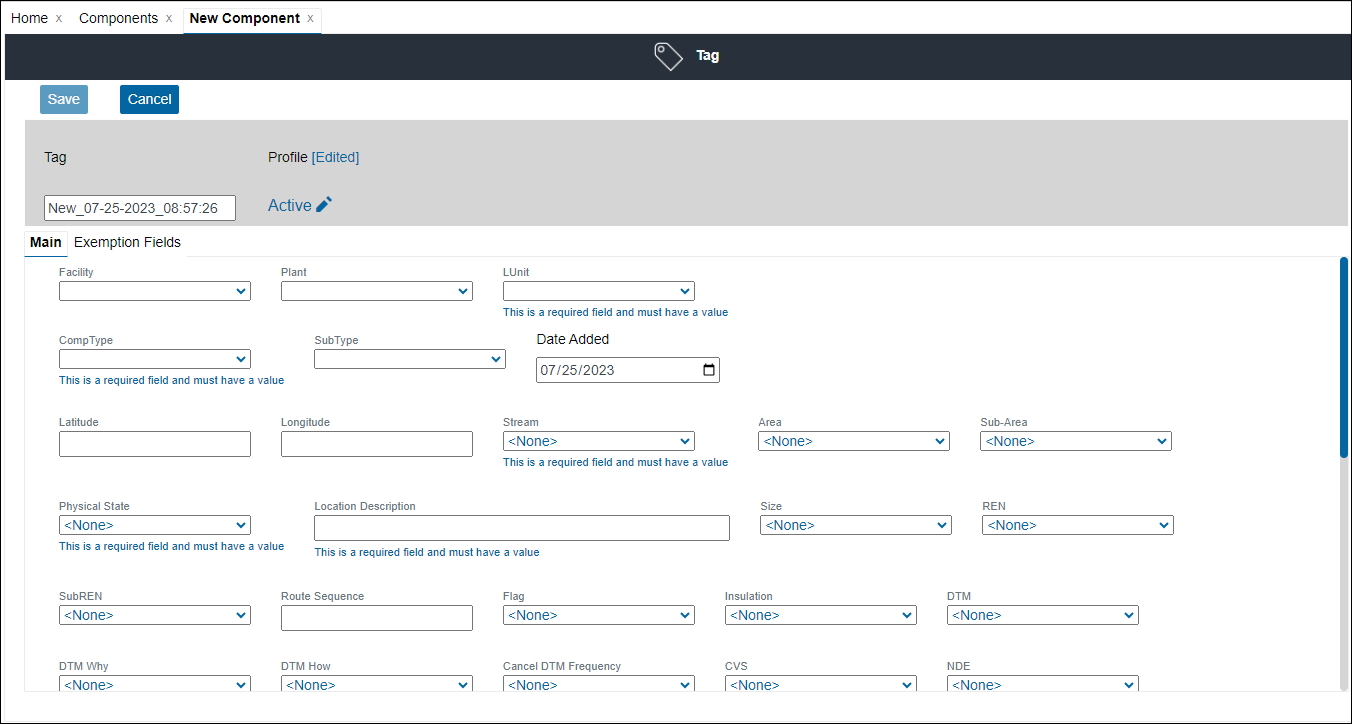
If you are adding a component from scratch, required fields are indicated by the text under the box. You can only save the component after completing all required fields.
If you are using Copy to Add, select a component closely matching the properties of your new component, go to its tag view and click Copy to Add. The fields will automatically fill with the properties of the selected component. Edit the properties not matching your new component, if there are any.
Either way, do not forget to edit the tag number. Chateau will generate a default one for you, but it might not conform to your tag number policies.
When saving a component edit or a new component, the Run Rules after Saving prompt is unchecked by default for faster save times. If you would like the rules to run on your changes immediately, check Run Rules after Saving before clicking Save.


